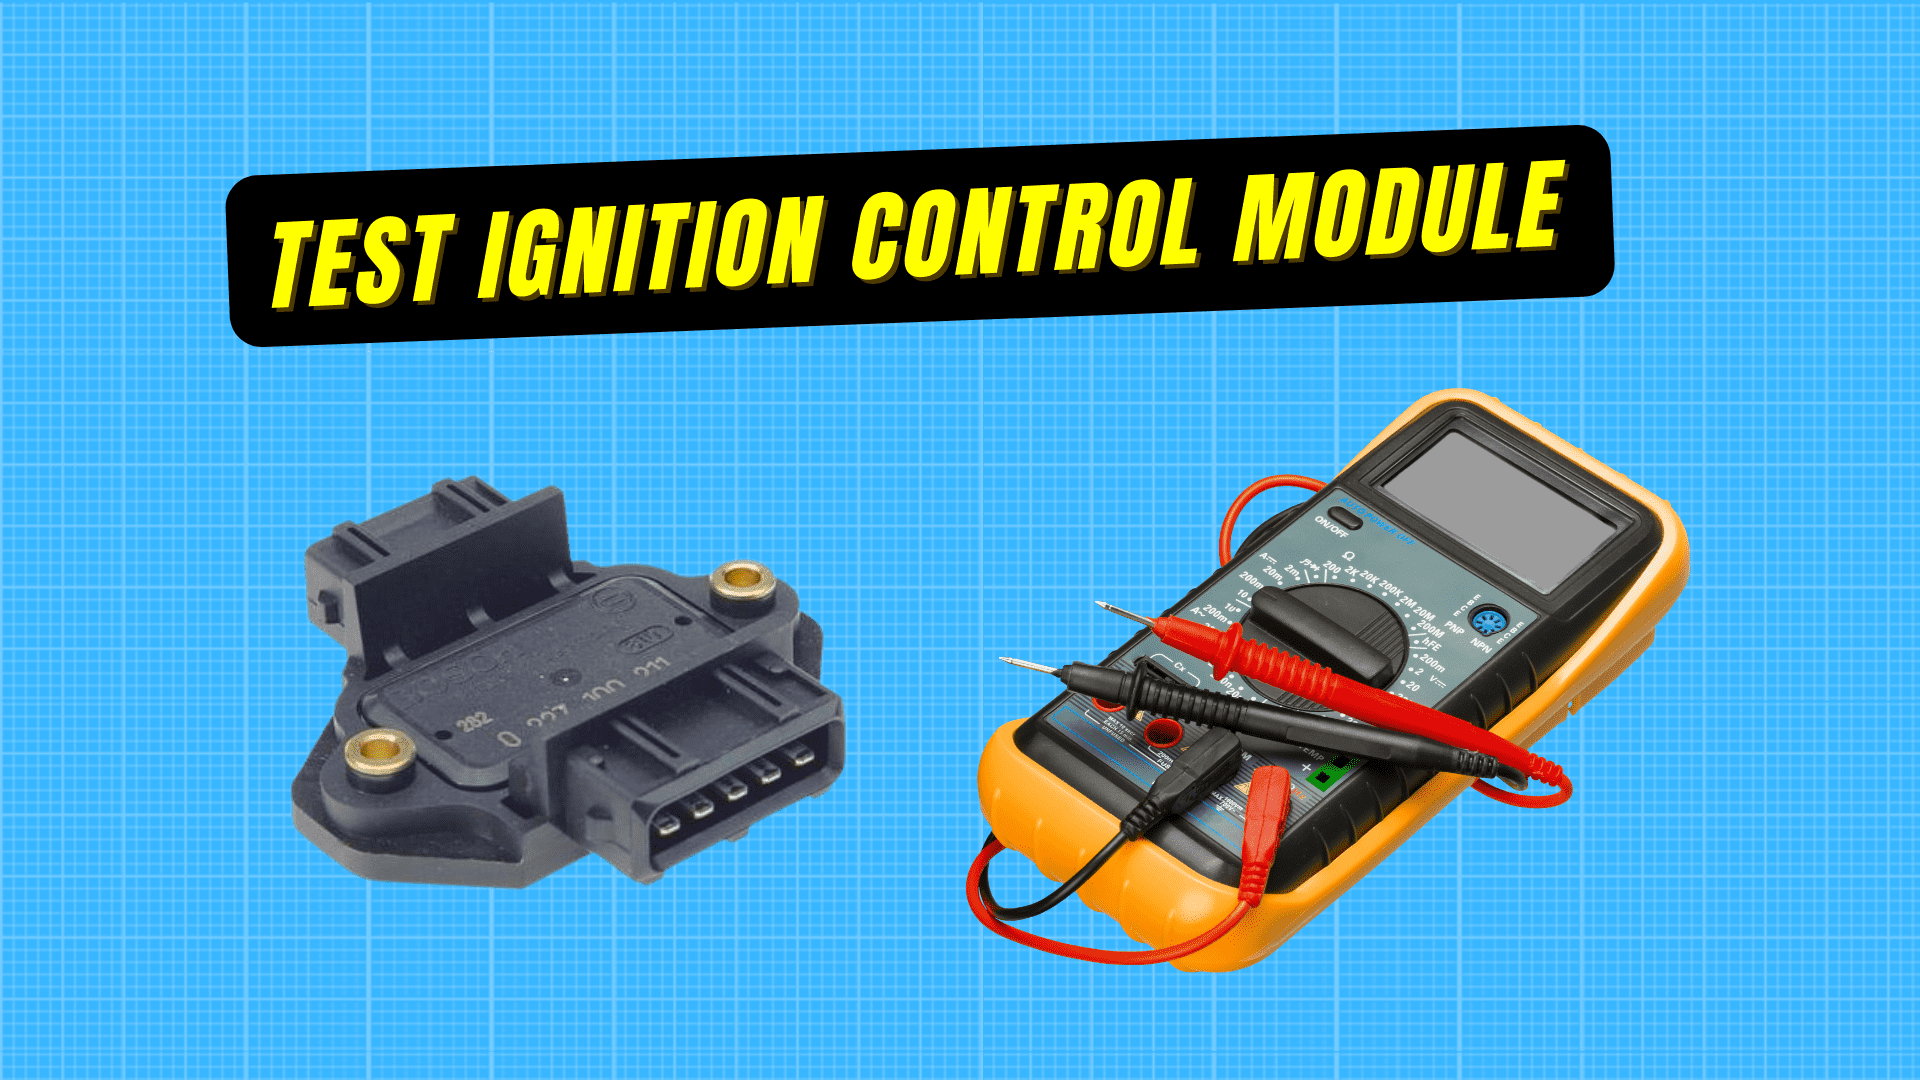
Is your vehicle acting up, or is your engine misfiring? Your Ignition Control Module (ICM) might be the culprit.
But how do you know if it’s really faulty without spending a fortune at the mechanic? You can test your Ignition Control Module yourself—right at home—with just a simple multimeter. In this guide, you’ll learn step-by-step how to check your ICM quickly and accurately.
By the end, you’ll have the confidence to spot issues early and keep your engine running smoothly. Ready to save time and money? Let’s dive in.

Credit: www.youtube.com
Tools Needed
Testing an ignition control module requires specific tools. Using the right tools makes the process easier and accurate. Below are the essential tools you need to get started.
Selecting A Multimeter
Choose a digital multimeter for clear readings. It should measure voltage, resistance, and continuity. Look for one with a backlit display for low light conditions. A multimeter with a range selector switch helps test different values. Choose a model that is easy to hold and use.
Additional Equipment
Besides the multimeter, have a few extra items ready. A pair of insulated gloves protects you from shocks. Use test leads with sharp tips for better contact. A wiring diagram of your vehicle helps identify module terminals. Keep a small screwdriver or pliers handy for access and adjustments.
Safety Precautions
Testing the ignition control module with a multimeter needs care. Safety comes first to avoid injury or damage. Follow important steps before starting the test. Stay safe and protect yourself from electrical risks.
Disconnecting The Battery
Always disconnect the car battery before testing. Remove the negative terminal cable first. This stops electrical flow in the system. Prevents accidental shocks or short circuits. Use a wrench to loosen the terminal clamp. Keep the cable away from the battery post. Double-check that no power remains in the system.
Avoiding Electrical Hazards
Wear insulated gloves to protect your hands. Work in a dry area to reduce shock risk. Avoid wearing metal rings or jewelry. Keep tools away from live wires. Use a multimeter with proper voltage ratings. Never touch metal parts while testing. Follow safety instructions in the vehicle manual. Stay alert and focused during the test process.
Locating The Ignition Control Module
Finding the ignition control module is the first step to test it properly. This small part controls the spark in your engine. Knowing its location helps you check it safely and quickly. The module can be in different spots depending on the car model. Some cars place it near the engine, others near the distributor. Understanding where to find it saves time and effort.
Common Locations
The ignition control module often sits on or near the distributor. It can also be attached to the engine block or firewall. In many cars, it is under the hood, close to the ignition coil. Some models hide it beneath the dashboard or inside the engine compartment. Checking the car manual can guide you directly to the module’s spot.
Identifying Module Connectors
The ignition control module has a set of electrical connectors. These connectors link the module to the car’s wiring. Usually, they have two to four pins or wires. The connectors are often clipped or snapped in place. Look for a plastic plug with wires of different colors. Gently unplug it to test the module with a multimeter.
Credit: www.marineengine.com
Setting Up The Multimeter
Setting up the multimeter correctly is the first step to test the ignition control module. It helps ensure accurate readings. A wrong setup might give false results. Follow simple steps to prepare your device for testing.
Choosing The Right Mode
Select the correct mode on the multimeter for your test. Use the resistance or ohms mode to check the ignition control module. This mode measures how much electrical resistance is in the module. Set the dial to the lowest range if your meter is not auto-ranging. This choice helps you see small resistance changes clearly.
Calibrating The Device
Check the multimeter’s accuracy before testing. Touch the two probes together. The reading should be zero or very close to zero. If it is not, adjust the meter or replace the battery. Calibration ensures the readings are reliable. This step saves time and avoids errors during testing.
Testing Resistance
Testing resistance is a key step in checking an ignition control module. It helps find out if the module’s internal parts work properly. A multimeter measures the electrical resistance between points on the module.
Resistance testing does not need complex tools or skills. It only requires careful measurement and simple understanding of the results. This section shows how to measure resistance and interpret the values correctly.
Measuring Module Terminals
First, set your multimeter to the ohms (Ω) scale. Turn off the car’s ignition and disconnect the module from the wiring. Locate the terminals on the ignition control module. They usually have letters or numbers.
Touch the multimeter probes to two terminals at a time. Record the resistance reading shown on the multimeter. Repeat this for all pairs of terminals. Make sure probes stay steady during each measurement.
Interpreting Resistance Values
Check the resistance values against the module’s specifications. The correct range varies by module model. Low resistance can mean a short circuit inside the module. High resistance or infinite reading may show an open circuit or broken connection.
Small differences in resistance are normal. Large variations often indicate a faulty module. Always compare your readings with the exact numbers from the service manual. This helps decide if the module needs replacement or repair.
Checking Voltage Output
Checking the voltage output of the ignition control module is a key step in testing it. This helps you see if the module sends the right electrical signals. Using a multimeter, you can measure these signals easily. The process starts with setting up your multimeter and placing the probes correctly. Then, you read the voltage levels carefully to understand the module’s condition.
Connecting Probes Correctly
First, turn off the car’s ignition. This prevents any short circuits. Set your multimeter to the DC voltage setting. Connect the black probe to the multimeter’s common port. The red probe goes to the voltage port.
Find the ignition control module’s output terminal. Attach the red probe there. Touch the black probe to the engine ground or battery negative terminal. This setup ensures accurate voltage measurement.
Reading Voltage Levels
Turn on the ignition without starting the engine. Watch the multimeter display. The voltage should match the manufacturer’s specifications. Typically, it ranges between 5 to 12 volts. A much lower or higher reading means the module may be faulty.
Repeat the test a few times to confirm the readings. Steady voltage signals show the module works well. Fluctuating or no voltage means you need to replace or repair the module.
Assessing Continuity
Assessing continuity is a key step in testing an ignition control module. It helps check if electrical paths inside the module are complete. If there is no continuity, the module may not work properly. Using a multimeter, you can find breaks or faults in circuits. This process saves time and avoids unnecessary replacements.
Performing Continuity Test
First, set your multimeter to the continuity mode. This mode often has a symbol like a sound wave or diode. Next, disconnect the ignition control module from the car. Touch the multimeter probes to the module’s terminals. A beep or low resistance reading means continuity is present. No beep or a high resistance reading means no continuity. Test all terminals one by one for a full check.
Identifying Faulty Circuits
When the multimeter shows no continuity, the circuit is broken. This break can cause ignition failure or engine problems. Mark any terminals that fail the continuity test. Faulty circuits inside the module usually mean replacement is needed. Keep track of your findings for clear diagnosis. Proper testing helps fix ignition issues quickly and safely.
Analyzing Test Results
After testing the ignition control module with a multimeter, understanding the results is key. The readings tell a lot about the module’s health. Reading them right helps you decide the next steps. This section explains how to spot normal and abnormal readings. It also guides on deciding if replacement is needed.
Normal Vs Abnormal Readings
Normal readings show consistent voltage and resistance levels. They match the specifications in your vehicle’s manual. For example, resistance usually falls between certain ohm values. Voltage should appear steady without sudden drops. Abnormal readings vary widely from these numbers. They may show open circuits or very high resistance. Such signs hint at a faulty ignition control module. Checking these readings carefully avoids wrong diagnosis.
Deciding On Replacement
Replace the ignition control module if readings fall outside the normal range. Persistent faults or unstable values confirm damage. Sometimes, cleaning connections can help, but faulty readings rarely fix by cleaning. Safety matters. A bad module can cause engine misfires or no start. Buying a new module ensures reliable engine performance. Always use parts that meet your car’s specifications. Proper replacement keeps your vehicle running smooth and safe.
Troubleshooting Tips
Troubleshooting an ignition control module with a multimeter can save time and money. Understanding common problems helps you spot issues fast. Checking the module’s signals and connections is key. Simple steps and clear signs guide you through the process.
Knowing when a problem is bigger than a quick fix is important. Some issues need expert tools or skills. This section shows how to find simple faults and when to get professional help.
Common Issues And Fixes
A faulty ignition control module can cause engine misfires or no start at all. Check for broken wires or loose connectors first. Corrosion on terminals can block signals. Clean or replace damaged parts.
Use the multimeter to test resistance and voltage. If readings are outside the normal range, the module may be bad. Sometimes heat causes the module to fail. Let the engine cool and test again to confirm.
Inspect the fuse and battery voltage. Low power can mimic module failure. Replace bad fuses and ensure the battery is strong. Tighten all ground connections to avoid false errors.
When To Seek Professional Help
Not all problems can be fixed with a multimeter. Complex wiring or hidden faults need expert diagnosis. If tests show normal values but issues persist, call a technician.
Advanced tools help check signals beyond the multimeter’s range. Professionals can also update or replace the module safely. Avoid guessing when dealing with engine control systems.
Safety is important. If you feel unsure about handling electrical parts, ask for help. A small mistake can cause bigger damage or injury.
Credit: buenmar.com
Frequently Asked Questions
What Tools Are Needed To Test Ignition Control Module?
You need a digital multimeter, vehicle’s wiring diagram, and safety gloves. The multimeter measures voltage, resistance, and continuity accurately.
How To Identify A Faulty Ignition Control Module?
Check for no spark, engine stalling, or erratic idling. Use a multimeter to measure resistance and voltage for faults.
What Multimeter Settings Are Used For Testing Ignition Modules?
Set the multimeter to the ohms (Ω) setting for resistance testing. Use voltage setting to check input and output signals.
Can Testing Ignition Control Module Prevent Engine Failure?
Yes, timely testing detects faults early, preventing engine misfires and stalling. It helps maintain engine performance and reliability.
Conclusion
Testing the ignition control module with a multimeter saves time and money. You can find out if the module works or needs replacement. Always follow safety steps to avoid damage or injury. Keep your multimeter ready and check the readings carefully.
This simple test helps keep your vehicle running smoothly. Practice a few times to feel confident. Your car’s ignition system will thank you. Simple tools, clear steps, good results. Try it yourself and see the difference.

I’m Asif Ur Rahman Adib, an Electrical Engineer and lecturer. My journey began in the lab, watching students struggle with instruments they used every day without fully understanding them. Over time, I’ve combined teaching, research, and hands-on experience to help others grasp electrical concepts clearly, safely, and practically—whether it’s understanding a circuit or mastering a multimeter.