Are you struggling to get accurate voltage readings with your oscilloscope? Understanding how to use this powerful tool can seem tricky at first, but once you know the simple steps, it becomes much easier.
Imagine being able to quickly check signals, spot issues, and ensure your circuits work perfectly every time. This guide will walk you through how to measure voltage using an oscilloscope, breaking down the process into clear, easy actions. By the end, you’ll feel confident handling your oscilloscope like a pro and getting the precise results you need.
Keep reading to unlock the full potential of your device.
Oscilloscope Basics
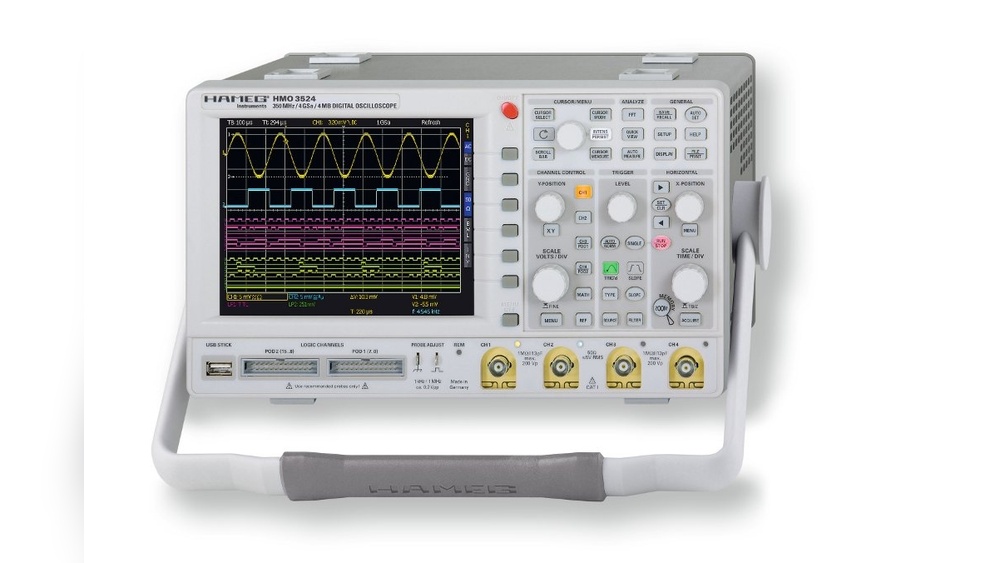
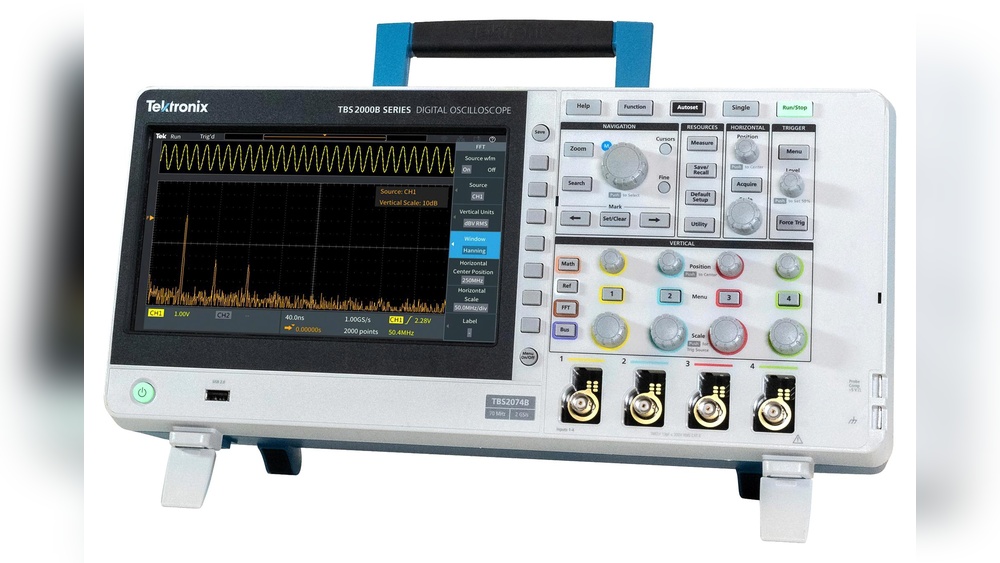
An oscilloscope is a tool to see electrical signals. It shows how voltage changes over time. This helps in testing and fixing electronic devices. Understanding the basics of oscilloscopes makes measuring voltage easier. You will learn about different types, parts, and how voltage is measured.
Types Of Oscilloscopes
There are two main types of oscilloscopes. Analog oscilloscopes show signals on a screen using electron beams. Digital oscilloscopes convert signals into numbers and display them on a screen. Digital types are more common now. They offer better accuracy and extra features.
Key Components
An oscilloscope has important parts. The screen shows the signal waveform. The vertical axis shows voltage. The horizontal axis shows time. Probes connect the oscilloscope to the circuit. Controls adjust the scale and position of the waveform. A power supply keeps the oscilloscope running.
Voltage Measurement Principles
The oscilloscope measures voltage by sampling the signal. Probes pick up voltage from the circuit. The oscilloscope converts this voltage into a visual graph. The height of the waveform shows the voltage level. The time axis shows how voltage changes. This helps analyze signal strength and quality.
Credit: www.rs-online.com
Preparing The Oscilloscope
Preparing the oscilloscope is the first step to measure voltage accurately. This process ensures the device works correctly and gives reliable results. Taking time to set up the oscilloscope properly helps avoid errors during measurement. Follow these steps carefully for a smooth start.
Powering On And Initial Setup
Connect the oscilloscope to a power source. Press the power button to turn it on. Wait for the screen to light up and display the home menu. Adjust the brightness and contrast for clear visibility. Check the time base and voltage scale settings. Set them to default or zero to start fresh.
Selecting Probe Type
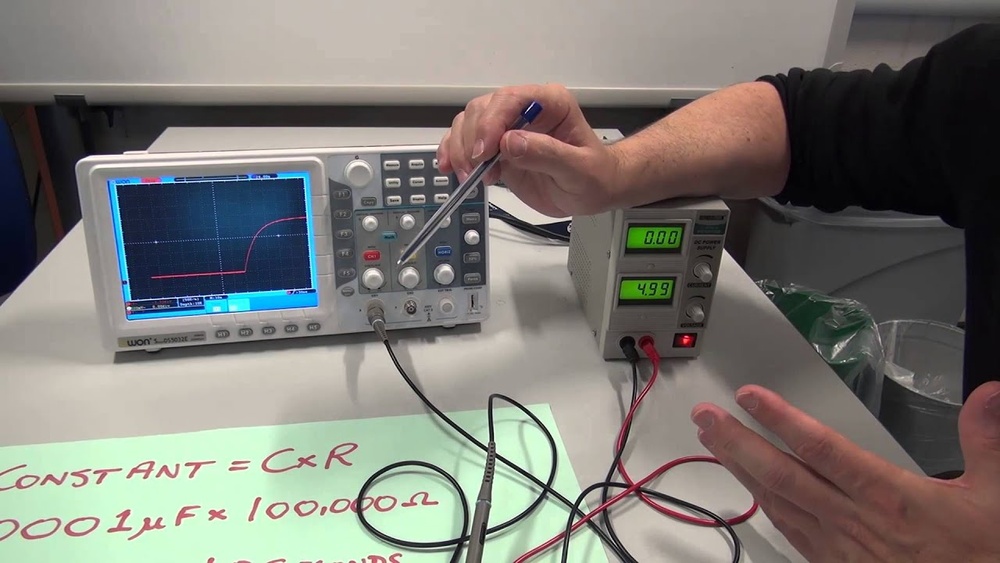
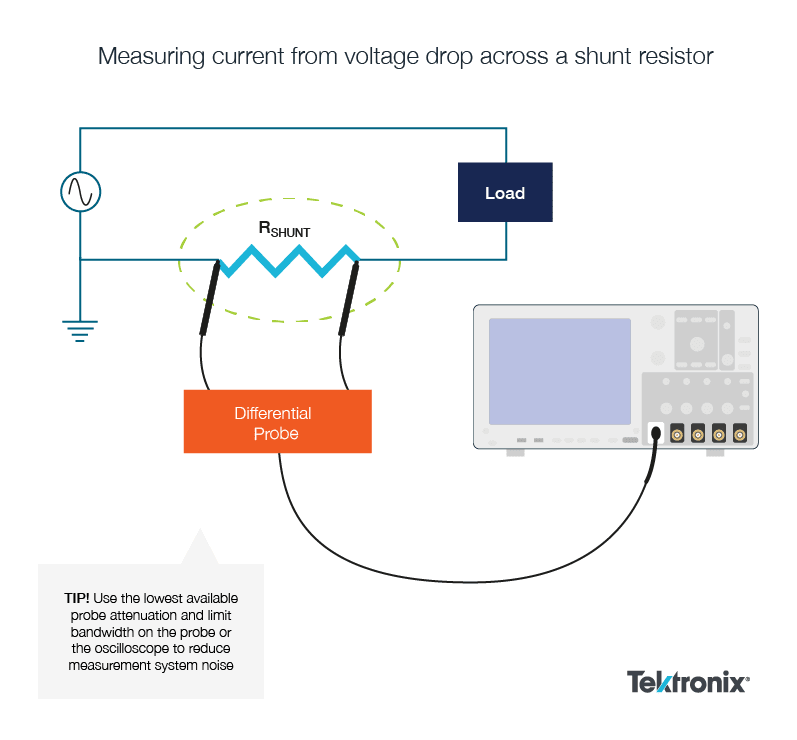
Choose the right probe for your voltage range. Most oscilloscopes use passive probes for general work. Active probes are better for high-frequency signals. Connect the probe securely to the oscilloscope input. Inspect the probe tip to ensure it is clean and undamaged. Attach the ground clip to the circuit ground point.
Calibrating The Device
Calibration ensures the oscilloscope shows accurate voltage readings. Use the built-in calibration signal if available. Connect the probe to the calibration output. Adjust the probe compensation trimmer until the waveform is flat and stable. Verify the voltage scale matches the calibration signal level. Repeat calibration regularly for best results.
Connecting The Probe
Connecting the probe is a key step in using an oscilloscope to measure voltage. It ensures the oscilloscope reads the correct signals from your circuit. Proper connection avoids errors and protects your device.
Choosing The Right Probe
Select a probe that matches your oscilloscope and the voltage range. Use a passive probe for general measurements and active probes for high-frequency signals. Check the probe’s bandwidth and attenuation to suit your needs.
Attaching The Probe To The Circuit
Attach the probe tip carefully to the test point in the circuit. Avoid touching other parts to prevent short circuits. Hold the probe steady to get a clear and stable signal on the screen.
Ensuring Proper Grounding
Connect the probe’s ground clip to the circuit’s ground point. This step is crucial to avoid noise and false readings. Make sure the ground connection is firm and secure for accurate measurements.
Configuring Settings
Configuring settings on an oscilloscope is a key step to measure voltage accurately. Proper settings help you see the signal clearly. This section explains how to adjust voltage scale, set the time base, and trigger the signal.
Adjusting Voltage Scale
The voltage scale controls how much voltage each division on the screen shows. Start by setting the scale to a high value. This prevents the signal from going off the screen. Then, lower the scale slowly to see more detail. Adjust it until the waveform fits well on the display.
Setting Time Base
The time base controls how fast the signal moves across the screen. It shows the signal’s changes over time. Set the time base to a value that displays several cycles of the waveform. This helps in understanding the signal’s frequency and pattern. Change it to zoom in or out on the signal.
Triggering The Signal
The trigger stabilizes the waveform on the screen. Without it, the signal will move and be hard to read. Choose the trigger type based on your signal. Set the trigger level to the voltage point where the signal starts. Adjust the trigger mode for a steady and clear waveform.
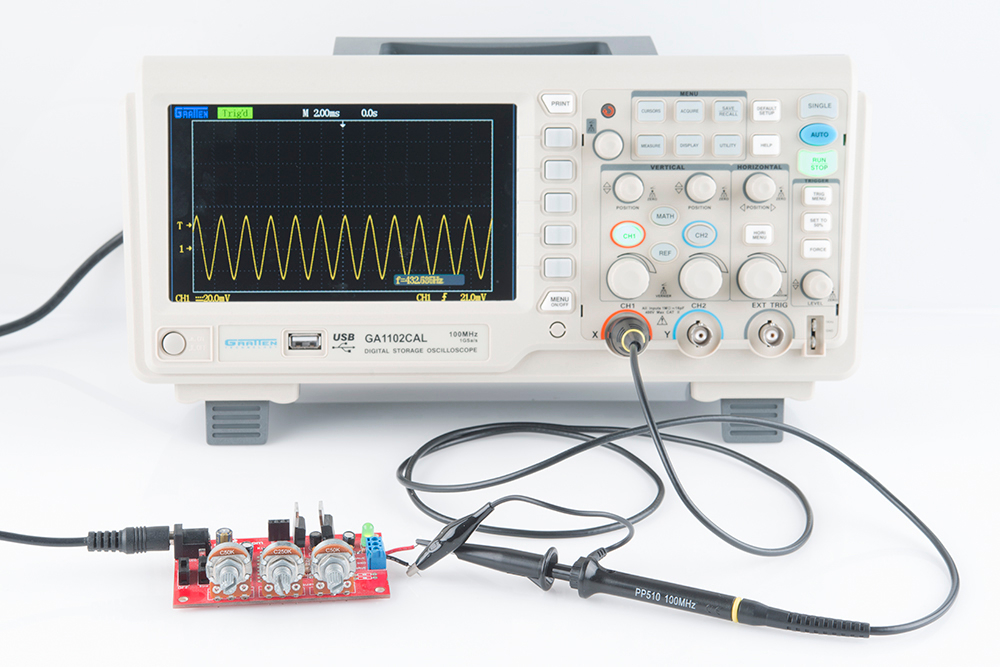
Measuring Voltage
Measuring voltage is a key task when using an oscilloscope. It helps you understand how electrical signals behave. The oscilloscope shows voltage changes over time on its screen. You can see if the signal is stable or if it varies. Knowing how to read these signals is important for testing circuits or fixing problems.
Different ways exist to measure voltage with an oscilloscope. Each method gives you unique information about the signal. Below are three common ways to measure voltage accurately and clearly.
Reading Peak Voltage
Peak voltage is the highest point of a signal on the oscilloscope. It shows the maximum voltage reached during a cycle. To read peak voltage, look at the tallest part of the waveform. The oscilloscope’s vertical scale helps you find the exact value. Peak voltage is useful for checking if a signal exceeds limits.
Measuring Rms Voltage
RMS voltage stands for Root Mean Square voltage. It represents the effective power of a signal. The oscilloscope can calculate RMS voltage with built-in tools. RMS is important for signals that change over time, like AC voltage. This value helps you understand how much energy the signal carries.
Analyzing Signal Waveform
The waveform shape tells you a lot about the signal. Look at the pattern on the oscilloscope screen. Identify if it is a sine, square, or triangular wave. Each shape has different voltage characteristics. Analyzing the waveform helps find noise, distortion, or other issues.

Credit: www.youtube.com
Common Issues And Troubleshooting
Using an oscilloscope to measure voltage can sometimes bring challenges. Understanding common issues helps fix problems fast. Troubleshooting is key to getting clear, accurate readings. This section covers typical problems and simple solutions.
Signal Distortion
Signal distortion changes the shape of the waveform. This can happen if the probe is not connected properly. Check if the probe tip and ground clip are secure. Use the right probe type for the signal. Adjust the oscilloscope’s bandwidth to match the signal frequency. High-frequency signals need a higher bandwidth to avoid distortion.
Incorrect Readings
Incorrect readings often come from wrong settings. Make sure the voltage scale matches the signal’s range. Set the time base correctly for the waveform speed. Check if the probe attenuation is set properly on the oscilloscope. A wrong attenuation setting can show false voltage values. Calibrate the oscilloscope regularly to keep measurements accurate.
Noise Reduction Tips
Noise can hide the true signal. Keep probe ground leads as short as possible. Avoid placing the oscilloscope near strong electrical devices. Use shielded cables to reduce interference. Turn on the oscilloscope’s averaging function to smooth out noise. Proper grounding of the circuit also lowers noise problems.
Safety Tips
Using an oscilloscope to measure voltage requires care and attention. Safety is very important to protect yourself and your equipment. Follow these safety tips to work safely and avoid accidents.
Handling High Voltages
High voltages can cause serious injury or damage. Always wear insulated gloves when working with high voltages. Make sure the oscilloscope is rated for the voltage you measure. Never touch live wires or exposed circuits. Keep your hands dry and tools insulated. Work in a clean, dry area to reduce risks.
Proper Probe Usage
Use the correct probe for your oscilloscope and voltage range. Check the probe’s condition before use. Damaged probes can give wrong readings and cause shocks. Connect the ground clip properly to avoid noise and short circuits. Avoid touching the metal parts of the probe during measurement. Store probes safely to keep them in good shape.
Avoiding Damage To Equipment
Turn off the power before connecting or disconnecting probes. Set the oscilloscope to the right voltage and time scale. Overloading the input can damage the device. Use a voltage divider if needed to lower the input voltage. Keep cables neat and avoid sharp bends. Regularly inspect your oscilloscope and probes for damage.
Credit: learn.sparkfun.com
Frequently Asked Questions
How Do I Connect An Oscilloscope To Measure Voltage?
Connect the oscilloscope probe’s tip to the voltage point. Attach the ground clip to the circuit’s ground. This setup ensures accurate voltage measurement and signal stability.
What Settings Should I Use For Voltage Measurement?
Set the oscilloscope’s vertical scale to match the expected voltage range. Adjust the time base for a clear signal view. Use AC or DC coupling based on your measurement type.
Can I Measure Both Ac And Dc Voltage With An Oscilloscope?
Yes, oscilloscopes measure AC and DC voltages. Select AC coupling to block DC offset or DC coupling to see the full signal, including DC components.
How Do I Read Voltage Values On An Oscilloscope Screen?
Count vertical divisions of the waveform from the baseline. Multiply by volts per division setting. This gives you the peak voltage value directly.
Conclusion
Using an oscilloscope to measure voltage helps you see electrical signals clearly. Connect the probe carefully and adjust the settings for accuracy. Watch the waveform on the screen to understand the signal’s shape and size. Practice reading different signals to gain confidence.
This tool makes checking voltage easy and precise. Keep safety in mind and handle equipment with care. With regular use, measuring voltage becomes simple and useful for many projects. Give it a try and explore what you can learn from voltage signals.

I’m Asif Ur Rahman Adib, an Electrical Engineer and lecturer. My journey began in the lab, watching students struggle with instruments they used every day without fully understanding them. Over time, I’ve combined teaching, research, and hands-on experience to help others grasp electrical concepts clearly, safely, and practically—whether it’s understanding a circuit or mastering a multimeter.