If you’re having trouble with your bike or scooter, the CDI box might be the culprit. Knowing how to test a CDI box with a multimeter can save you time and money on repairs.
This simple skill puts control back in your hands, helping you spot problems quickly and avoid costly trips to the mechanic. Keep reading, and you’ll learn easy, step-by-step instructions to check your CDI box like a pro—even if you’re new to electronics.
Your ride depends on it!
What Is A Cdi Box
A CDI box is a small but important part of many engines. It controls the ignition system. This system helps start the engine and keep it running smoothly. The CDI box stores and releases electrical energy at the right time. This energy creates a spark that ignites the fuel in the engine. Without a properly working CDI box, the engine may not start or run well.
Role In Engine Ignition
The CDI box controls when the spark plug fires. It sends a quick burst of electricity to the spark plug. This spark lights the air-fuel mix inside the engine cylinder. Timing is very important. The CDI box makes sure the spark happens at the best moment for engine power. It helps the engine run efficiently and reduces fuel waste.
Common Cdi Box Types
There are two main types of CDI boxes. The first is the Capacitor Discharge Ignition type. It stores energy in a capacitor and releases it fast. The second type is the Inductive Discharge Ignition. It uses a coil to create the spark. Both types perform the same job but work differently. Different engines may use different CDI boxes depending on design.
Tools Needed For Testing
Testing a CDI box requires a few simple tools. Having the right tools makes the process easier and more accurate. A multimeter is the main tool you need. Other tools help with safety and ease during testing.
Choosing The Right Multimeter
Select a multimeter that can measure voltage, resistance, and continuity. Digital multimeters are easy to read and more accurate. Make sure it has a clear display and simple controls. A multimeter with a good range for low voltage is best. Check for a model with a hold function to keep readings. This helps when you test hard-to-see spots on the CDI box.
Additional Tools
Use a set of insulated screwdrivers to open the CDI box carefully. Needle-nose pliers help handle small wires and connectors. A flashlight is useful to see inside dark areas. Keep electrical tape handy for safety when handling wires. A clean workspace with a non-metallic mat prevents shorts during testing. These tools make the process safer and more precise.
Preparing For The Test
Preparing for the test is an important step before using a multimeter on a CDI box. It sets the stage for accurate results and helps avoid damage. Take time to get ready properly for a smooth testing process.
Safety Precautions
Always disconnect the battery before starting any test. Wear insulated gloves to protect your hands. Work in a dry area to reduce the risk of electric shock. Avoid loose clothing or jewelry that could catch on parts. Use tools with insulated handles for extra safety. Double-check that the multimeter is in good condition and set to the right mode.
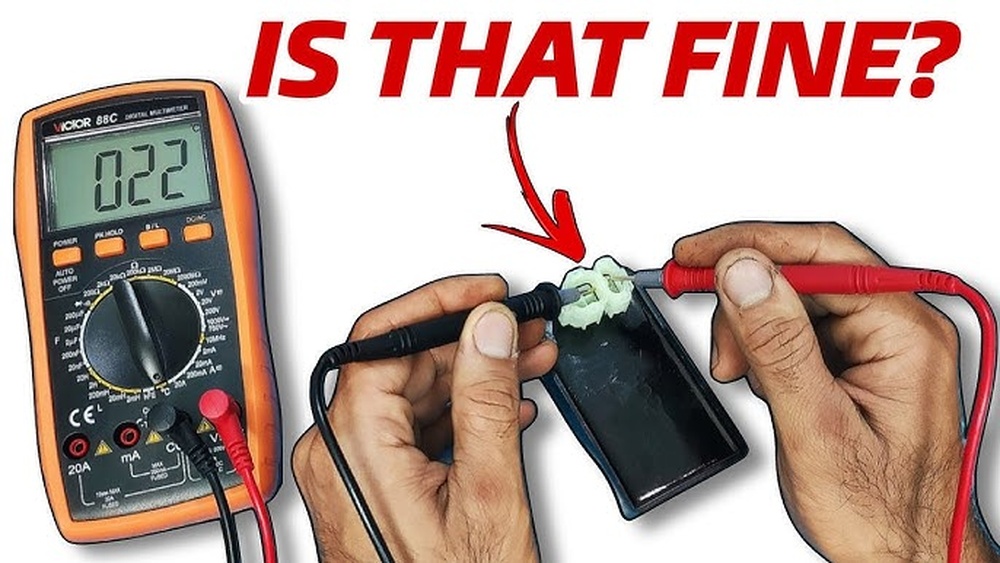
Locating The Cdi Box
The CDI box is usually near the engine or under the seat. Look for a small, rectangular unit with multiple wires connected. Consult your vehicle’s manual if you have trouble finding it. Clean the area around the box to avoid dirt in the connectors. Make sure the box is easily accessible to connect the multimeter leads.

Credit: www.youtube.com
Step-by-step Testing Process
Testing a CDI box with a multimeter is simple when following clear steps. This process helps find faults quickly and safely. Each step checks a different part of the CDI box. Understanding these steps ensures accurate testing and saves time.
Setting Up The Multimeter
Start by turning on the multimeter. Set it to the correct mode for the test. Use the resistance mode for most CDI tests. Connect the black probe to the common port. Attach the red probe to the voltage or resistance port. Check the multimeter’s battery before use. A low battery can give false readings.
Measuring Resistance
Identify the CDI box terminals for resistance testing. Place the probes on the terminals carefully. Look at the multimeter display for the resistance value. Compare the reading with the CDI box’s manual. A very high or low reading means a problem. Record your readings for future reference.
Checking Continuity
Set the multimeter to continuity mode. Touch the probes to the terminals you want to test. The multimeter beeps if the circuit is complete. No beep means no continuity, which signals a fault. Test all relevant terminals to be sure. Continuity checks help spot broken wires or connections.
Testing Voltage Output
Switch the multimeter to DC voltage mode. Connect the probes to the output terminals of the CDI box. Turn on the ignition or engine as needed. Watch the multimeter for voltage readings. The voltage should match the CDI specifications. Low or no voltage indicates a bad CDI box.
Interpreting Test Results
After testing your CDI box with a multimeter, understanding the results is key. This step helps you know if the CDI box works well or needs replacement. The readings from your multimeter show the condition of the internal parts. Knowing what these numbers mean saves time and money. It also prevents further damage to your vehicle.
Normal Readings
A healthy CDI box usually shows stable resistance values. The resistance often falls within the range specified in the service manual. For example, primary coil resistance might read between 0.3 to 1 ohm. Secondary coil resistance could be higher, around 5,000 to 15,000 ohms. A consistent reading with no sudden drops or spikes means the box is good. Smooth continuity readings also indicate proper electrical flow inside the box.
Signs Of A Faulty Cdi Box
Erratic or zero readings often signal a problem. If the multimeter shows infinite resistance, the coil may be broken. Very low resistance could mean a short circuit inside the CDI box. Sudden changes in readings while testing may point to loose connections. A failure to meet the manual’s resistance range means the box won’t function right. These issues cause engine misfires, no spark, or poor performance. Replacing a faulty CDI box is the best fix.
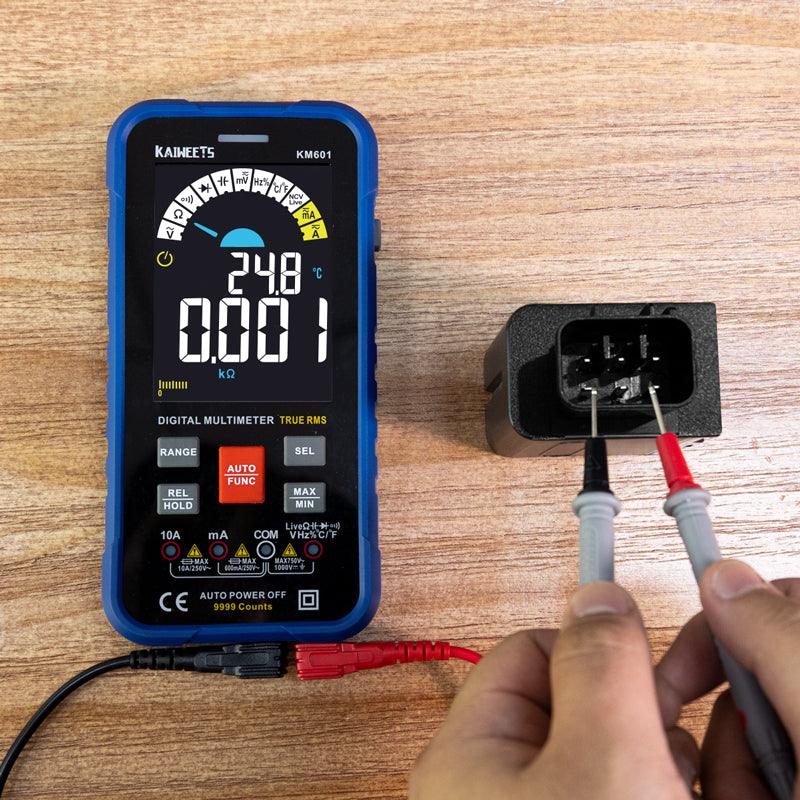
Credit: kaiweets.com
Troubleshooting Tips
Troubleshooting a CDI box with a multimeter can save time and money. This guide offers simple tips to identify problems. Understanding common issues and knowing when to replace the CDI box helps keep your vehicle running smoothly.
Common Issues And Fixes
Sometimes, the CDI box fails to send sparks to the engine. This can cause the engine to stall or not start at all.
Check the resistance of the CDI box using a multimeter. A reading outside the normal range signals a problem.
Loose or corroded connections can also cause issues. Clean and tighten all electrical connections before testing again.
Faulty wiring may show no continuity on the multimeter. Replace damaged wires to restore proper function.
Incorrect voltage readings often point to a bad CDI box. Confirm the voltage matches the manufacturer’s specifications.
When To Replace The Cdi Box
Replace the CDI box if tests show no continuity or incorrect resistance. These signs mean the internal components are damaged.
Frequent engine misfires despite good wiring and connections also suggest replacement is needed.
Physical damage, like cracks or burns on the CDI box, requires immediate replacement.
Using a new CDI box can improve engine performance and reliability. Avoid delays to prevent further engine problems.
Maintaining Your Cdi Box
Maintaining your CDI box is key to keeping your vehicle running smoothly. This small device controls the ignition timing. Proper care helps prevent failures and costly repairs. Simple steps extend the life of your CDI box and improve performance.
Regular Inspections
Check your CDI box often for signs of wear or damage. Look for cracks, corrosion, or loose wires. Clean dirt and debris gently with a dry cloth. Test connections to ensure they are tight and secure. Early detection of problems saves time and money.
Storage And Handling Tips
Store your CDI box in a dry, cool place away from heat. Avoid places with high humidity to stop moisture damage. Handle the box carefully to avoid drops or impacts. Use anti-static bags if storing for a long time. Proper storage protects the electronic parts inside.

Credit: www.advrider.com
Frequently Asked Questions
How Do I Check A Cdi Box With A Multimeter?
To check a CDI box, set your multimeter to resistance mode. Measure resistance between specific terminals. Compare readings to your manual’s specs to identify faults.
What Resistance Values Indicate A Faulty Cdi Box?
Resistance values outside the manufacturer’s specified range suggest a faulty CDI box. Always consult your bike’s manual for exact resistance specs.
Can A Multimeter Test All Types Of Cdi Boxes?
Most standard multimeters can test typical CDI boxes. However, some advanced CDI units may require specialized testing tools.
How Do I Identify Cdi Box Terminals For Testing?
Refer to your vehicle’s wiring diagram to locate CDI terminals. Proper identification ensures accurate resistance and continuity measurements.
Conclusion
Testing a CDI box with a multimeter helps find electrical problems fast. Follow each step carefully for accurate results. Checking resistance and continuity shows if the CDI box works well. This simple test can save time and money on repairs.
Keep your tools ready and stay safe while testing. Understanding how to test the CDI box makes bike maintenance easier. Regular checks keep your engine running smoothly. Practice these steps to build confidence and skills over time.

I’m Asif Ur Rahman Adib, an Electrical Engineer and lecturer. My journey began in the lab, watching students struggle with instruments they used every day without fully understanding them. Over time, I’ve combined teaching, research, and hands-on experience to help others grasp electrical concepts clearly, safely, and practically—whether it’s understanding a circuit or mastering a multimeter.