Are you having trouble with your car amplifier and wondering if it’s working properly? Testing your car amplifier with a multimeter is easier than you might think.
By using simple steps, you can quickly find out if your amplifier is the problem or if something else needs fixing. This guide will walk you through everything you need to know, so you can save time and money on repairs.
Keep reading, and you’ll soon feel confident checking your car amplifier all by yourself.
Tools Needed
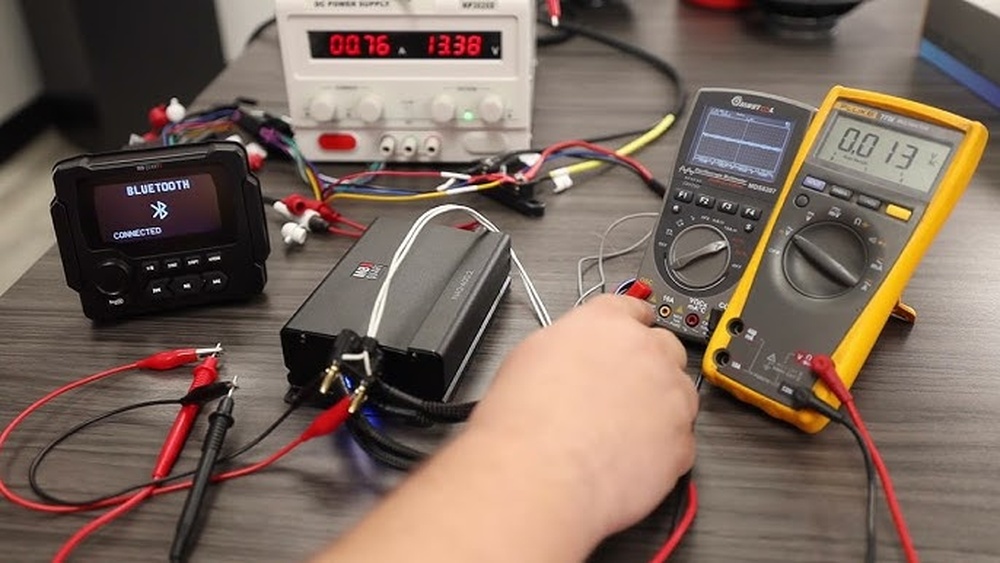
Testing a car amplifier with a multimeter requires a few essential tools. Having the right equipment makes the process easier and more accurate. This section covers the basic tools you need.
Choosing The Right Multimeter
Select a multimeter that measures voltage, resistance, and continuity. Digital multimeters are easier to read and more accurate. Look for one with a clear display and a hold function. A compact size helps when working inside a car. Check that the multimeter has good build quality for safety.
Additional Equipment
Besides the multimeter, you need basic tools like screwdrivers and wire strippers. These help access amplifier connections safely. Use alligator clip leads for hands-free testing. A test light can help check power supply to the amplifier. Keep a small flashlight handy for dark spaces.

Credit: www.crutchfield.com
Safety Precautions
Testing a car amplifier with a multimeter needs careful safety steps. These steps protect you from damage and injury. Always follow safety rules before starting any test on your amplifier.
Power Off The Amplifier
Always switch off the amplifier before testing. Unplug the power cable to avoid electric shocks. Testing with power on can cause serious harm. Make sure no current flows to the amplifier during the test. This step keeps both you and the device safe.
Avoiding Electrical Hazards
Check your work area for any wet spots or liquids. Water and electricity do not mix. Use insulated tools to prevent electric shocks. Avoid touching metal parts of the multimeter probes during testing. Wear rubber gloves for extra protection if possible. Keep your hands dry and steady while testing. These simple habits reduce the risk of electrical hazards.
Preparing The Amplifier
Preparing the amplifier is the first step in testing it with a multimeter. This step ensures safety and accurate results. It also helps protect the amplifier and your vehicle’s electrical system.
Proper preparation means disconnecting wires and setting up the amplifier for testing. These tasks require care and attention. Let’s break down these steps for clear understanding.
Disconnecting Wires
Start by turning off the car’s ignition. This stops any power from flowing to the amplifier. Next, disconnect the power wire from the amplifier’s terminal. This wire usually connects to the car battery.
Remove the ground wire next. This wire connects the amplifier to the car’s chassis. Also, disconnect the speaker wires. These carry the audio signals to your speakers.
Handle all wires carefully. Avoid pulling or twisting them hard. Keep the wires separated to prevent accidental contact during testing.
Setting Up For Testing
Place the amplifier on a clean, flat surface. This keeps it stable and safe from damage. Prepare your multimeter by setting it to the correct mode. Usually, the resistance or voltage mode works best.
Check the multimeter’s leads for any damage. Plug the leads into the right ports on the multimeter. Red goes to the positive port, and black goes to the negative or ground port.
Before connecting the multimeter to the amplifier, review the amplifier’s manual. It may have specific instructions or safety warnings for testing. Make sure you understand these to avoid mistakes.
Credit: www.youtube.com
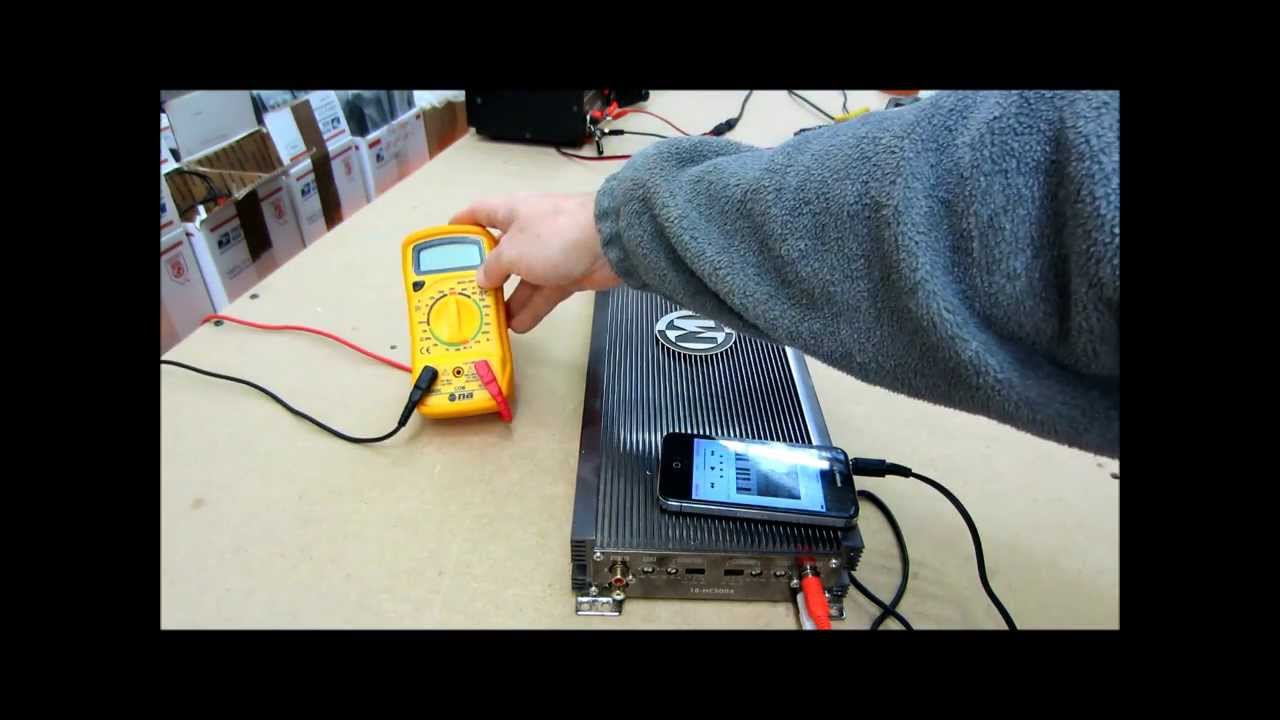
Testing The Power Supply
Testing the power supply is the first step to check your car amplifier. The power supply gives the amplifier the energy it needs to work. Without the right power, the amplifier cannot play sound properly. Using a multimeter helps you find any power issues fast. This saves time and avoids damage to your car audio system.
Measuring Voltage Input
Set your multimeter to measure DC voltage. Find the positive power wire on the amplifier. Place the red probe on this wire. Put the black probe on the negative or ground wire. Read the voltage on the multimeter screen. The voltage should match your car battery, usually around 12 volts. A lower or no reading means there is a power problem. Check the battery and fuse next.
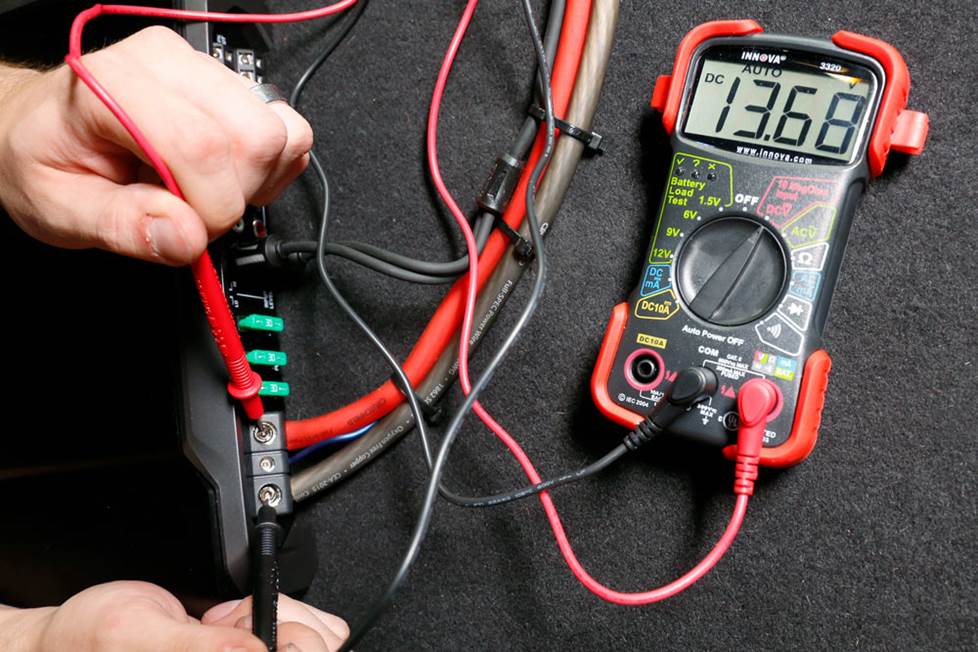
Checking Ground Connection
Ground is the negative side of the power supply. It must be connected well for the amplifier to work. Put the black probe on the ground wire or metal chassis. Touch the red probe to the car battery’s negative terminal. The multimeter should show a low voltage or zero. A high reading means a bad ground connection. Tighten the ground wire or clean the contact area. A good ground ensures stable power for your amplifier.
Inspecting The Speaker Outputs
Inspecting the speaker outputs is a key step in testing a car amplifier. These outputs send the sound signals to the speakers. Checking them helps find problems like no sound or poor audio quality. A multimeter is the perfect tool for this job. It measures electrical values to ensure the amplifier works well.
Testing Output Voltage
First, set the multimeter to measure voltage. Turn on the amplifier and play some music. Place the multimeter probes on the speaker output terminals. Watch the voltage reading carefully. A healthy amplifier usually shows a small voltage signal here. If the voltage is zero or too low, the output may be faulty. This test confirms the amplifier sends power to the speakers.
Verifying Continuity
Next, switch the multimeter to continuity mode. Disconnect the amplifier from the speakers. Touch the probes to the output terminals. The multimeter beeps if there is a complete path. No beep means an open circuit or broken connection. Continuity ensures the wiring and output terminals are intact. This quick test finds wiring faults or internal damage in the amplifier.
Checking The Amplifier’s Internal Components
Checking the amplifier’s internal components is key to finding problems. A multimeter helps test parts inside the amplifier. This testing finds broken parts that stop the amplifier from working well. Start with simple parts like fuses. Then, check more complex parts like transistors and capacitors. Each test shows if parts need fixing or replacing.
Use steady hands and clear views. Take notes on readings. This helps compare with normal values later. Be patient and careful during each test. This section explains how to test fuses, transistors, and capacitors inside your amplifier.
Testing Fuses
Fuses protect your amplifier from power surges. A blown fuse stops power flow and causes no sound. Set your multimeter to the continuity mode. Touch the probes to each fuse end. A beep or low resistance means the fuse is good. No beep or high resistance shows a blown fuse. Replace any blown fuse with the exact type and rating. This simple test saves time and avoids bigger repairs.
Assessing Transistors And Capacitors
Transistors control the amplifier’s signal flow. Capacitors store and release electrical energy. Both parts can fail and affect sound quality. Set your multimeter to diode mode for testing transistors. Touch the probes to the transistor legs one by one. Good transistors show a voltage drop in one direction only. For capacitors, set the multimeter to capacitance mode. Connect probes to capacitor leads. Compare the reading with the capacitor’s labeled value. Large differences mean the capacitor is faulty. Replace bad transistors and capacitors to restore amplifier function.
Interpreting Multimeter Readings
Interpreting multimeter readings is key to testing a car amplifier accurately. The multimeter shows numbers that tell you about the amplifier’s health. Understanding these numbers helps find problems early and avoid damage.
Different tests give different readings. Each reading has a normal range. Knowing these ranges guides you to spot issues quickly. Reading the multimeter correctly saves time and money on repairs.
Identifying Normal Values
Normal values depend on the test type and amplifier model. For resistance, values usually range from a few ohms to several hundred ohms. Check the amplifier manual for specific numbers. Voltage readings often match the car battery’s 12 volts.
During continuity tests, the multimeter shows a low resistance or beeps. This means the circuit is complete. A steady voltage reading means the amplifier receives proper power. These normal values confirm the amplifier works well.
Recognizing Faulty Signals
Faulty signals appear as unusual numbers or no response on the multimeter. A very high or infinite resistance shows a broken wire or damaged component. Low or zero resistance in wrong places may mean a short circuit.
Voltage readings far below 12 volts suggest power issues. No beep during continuity checks means a broken connection. Flickering or unstable numbers indicate loose wires or faulty parts. Recognizing these signals helps fix problems fast.
Credit: www.crutchfield.com
Troubleshooting Common Issues
Troubleshooting common issues with your car amplifier is simple with a multimeter. This tool helps find electrical problems fast. Understanding common faults saves time and money. Check your amplifier carefully for signs of damage or wear. Use the multimeter to test voltage, continuity, and resistance. These tests reveal where problems hide inside your system.
No Power Or Sound
Start by checking the amplifier’s power connections. Use the multimeter to test the battery voltage at the amplifier terminals. The voltage should read around 12 volts. If there is no voltage, check the fuse and wiring for breaks. Next, test the ground connection for good continuity. A poor ground stops the amplifier from working. Also, check the remote turn-on wire. It must have 12 volts when the stereo is on. Without this, the amplifier will not power up or produce sound.
Distorted Audio Output
Distorted sound usually means a problem with signals or connections. Test the input signal using the multimeter on the RCA cables or speaker wires. Look for any unusual resistance or breaks. Check the speaker impedance with the multimeter; it should match the amplifier’s specs. Low or high resistance causes distortion. Also, inspect the amplifier’s internal components for damage or overheating. Loose wires and bad ground connections can cause poor audio quality too.
Tips For Accurate Testing
Accurate testing of a car amplifier with a multimeter ensures reliable results. Small mistakes can lead to wrong readings and confusion. Follow clear steps to get precise measurements. This section covers essential tips that improve testing accuracy.
Calibrating The Multimeter
Always start by calibrating your multimeter. Calibration sets the tool to zero or a known value. This step removes any error from previous use. Use the multimeter’s manual to find the calibration method. Check the leads for damage before starting. A faulty lead can cause wrong readings. Proper calibration makes sure your results reflect the amplifier’s true condition.
Maintaining Consistent Conditions
Test the amplifier under steady conditions. Avoid testing in extreme heat or cold. Temperature changes affect the amplifier and multimeter readings. Keep the amplifier off for a few minutes before testing. This helps the device reach room temperature. Use the same test points each time for consistency. Consistent conditions give you reliable, repeatable results.
Frequently Asked Questions
How Do I Check Car Amplifier Resistance With A Multimeter?
Set your multimeter to the ohms setting. Disconnect the amplifier and measure resistance across speaker terminals. A normal reading usually ranges from 2 to 8 ohms. This indicates proper speaker load and amplifier function.
Can A Multimeter Detect A Faulty Car Amplifier?
Yes, a multimeter can help detect faults like shorts or open circuits. Test continuity and voltage levels to pinpoint issues. If readings are inconsistent or zero, the amplifier might be faulty.
What Voltage Should A Car Amplifier Output Show?
A car amplifier typically outputs between 10V to 14V at idle. Check voltage across power terminals with the engine running. Consistent voltage indicates good amplifier operation.
How To Test Car Amplifier Input Signal Using A Multimeter?
Set the multimeter to AC voltage. Measure voltage at the amplifier’s input terminals while playing audio. A fluctuating voltage confirms the input signal is reaching the amplifier.
Conclusion
Testing a car amplifier with a multimeter is simple and clear. You can find problems fast and fix them early. Just follow the steps carefully and take your time. This helps keep your sound system working well. A working amplifier means better music and more fun driving.
Practice this skill to save money and avoid repair shops. Remember, safety first—always disconnect power before testing. With these tips, you can check your car amplifier anytime. Easy, quick, and useful.

I’m Asif Ur Rahman Adib, an Electrical Engineer and lecturer. My journey began in the lab, watching students struggle with instruments they used every day without fully understanding them. Over time, I’ve combined teaching, research, and hands-on experience to help others grasp electrical concepts clearly, safely, and practically—whether it’s understanding a circuit or mastering a multimeter.